
Downloading and Installing Microsoft Project
Please note that this software is only compatible with Microsoft Windows operating system. If you're using a modern M-series processor Mac, you won't be able to run Windows or Project on it due to incompatible processor architecture. You will need to use a PC instead, or connect to a remotely-available Windows system with Project and use it there instead.
If you run into technical issues or need further assistance, please refer to the Technical Support section below.
Downloading MS Project 2021
1. In your browser, visit https://aka.ms/devtoolsforteaching. Click on Sign In.

2. You will be sent to a Microsoft Sign In page. Put in your UA e-mail address (NetID@arizona.edu) and click Next.

3. You may receive a prompt asking you to select if your account is a Work or School account or a Personal Account. Select Work or School account.

4. You will be redirected to a UA-branded Microsoft sign-in page, unless you're already logged in. Enter your NetID password and click Sign in.
Note: You may be prompted to sign-in with NetID+, two-factor authentication. Be sure to do that to continue the login process.

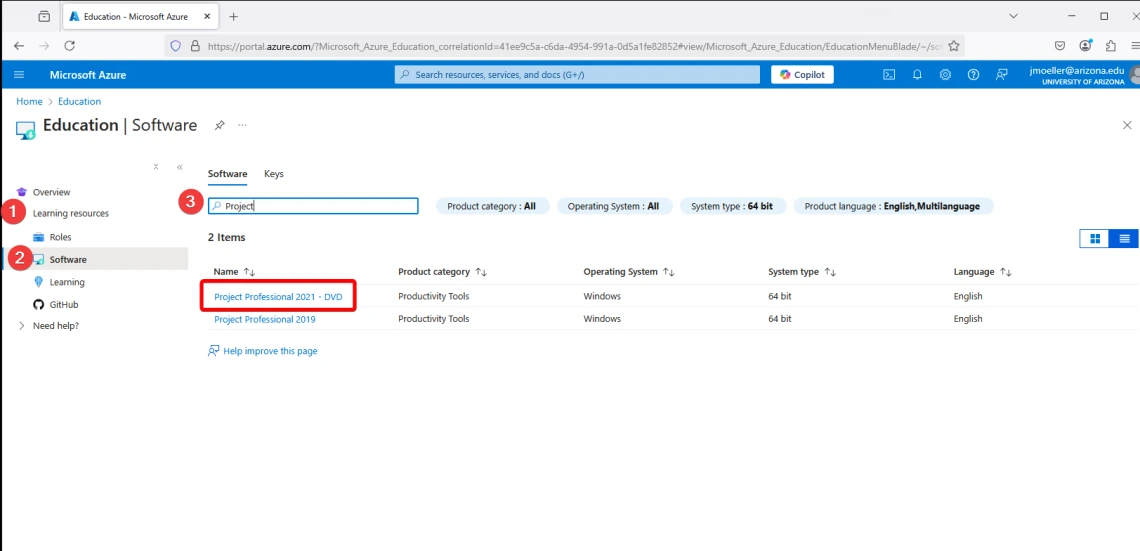
5. You should be redirected to the Azure Education portal. To look for software downloads, click on Learning resources -> Software on the left-hand navigation pane, then search for Project in the search bar. Then click on Project Professional 2021 (DVD)
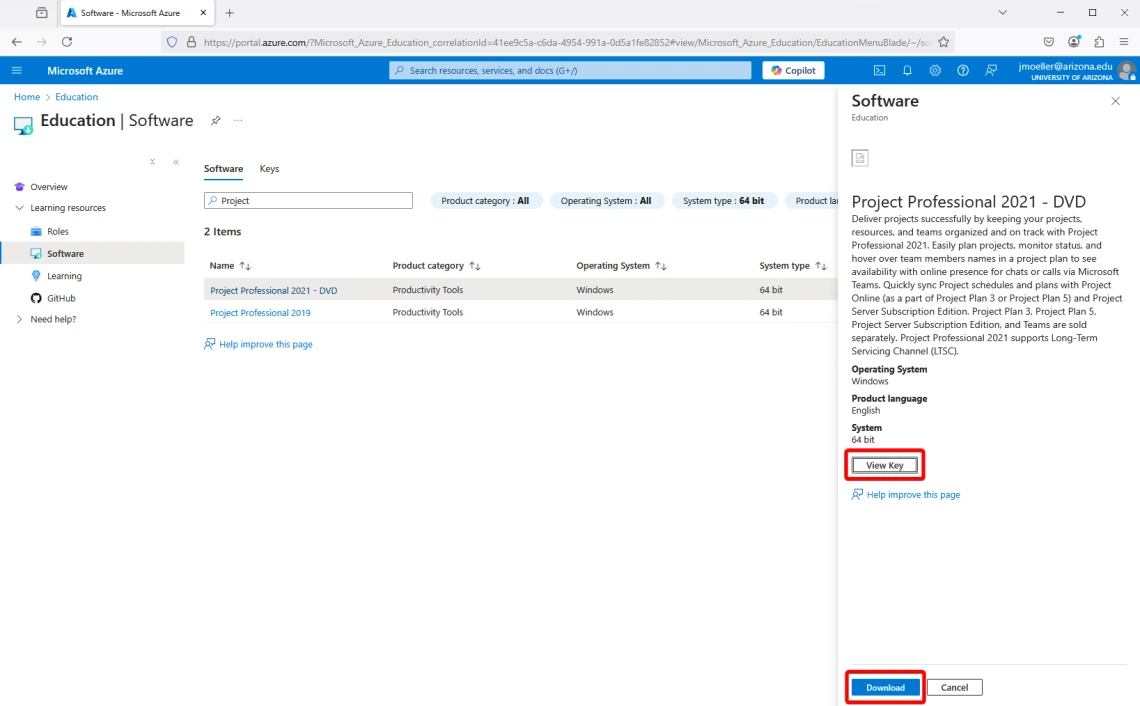
6. In the pane on the right, click on View Key to reveal the Product Key. You'll be using the Product Key in Step 16 to license the software. Store it in a safe place for your records. Click Download to begin downloading the software.
7. After the download is complete, go to your Downloads folder and Right-click on the downloaded file to select the mount option, or simply double click to start the installation.

11. Click setup.exe in the folder to start installing Project 2021.

12. An installation window will pop up, click Yes to allow changes to your device.

13. Wait for Project to install.

14. Now the installation is complete, Close the installation window.

15. Now Search for Project in your computer, then click Project 2021 to open the software.

16. The first time you open your Project, the software will ask you for licensing options. You want to Use a Product Key. This is the 25-digit alphanumeric code you received in Step 6. If you didn't write it down, you will have to revisit the Azure Dev Tools for Teaching to access it.

17. Project 2021 should be ready to use.