
Reaching next-gen RDS resources (Mac)
The MIS Academic and Research Technologies Group has developed a Microsoft Remote Desktop Services (RDS) infrastructure to broker access to new servers in the lab. This is a beta-quality service. These RDS components allow a user to work on Windows-based machines running on the lab's servers via a remote connection.
The quality of this service is not guaranteed and support is limited to best effort only when resources are available.
Launching RDS Resources from a Mac
These instructions are for Apple Mac users. Please instead see this page if you need instructions for connecting from a Windows-based PC.
To access RDS resources from a Mac, the version 10 or higher of the Microsoft Windows App (formerly called Microsoft Remote Desktop) needs to be installed.
1. Go to App Store.
2. Search for Windows App in App Store.
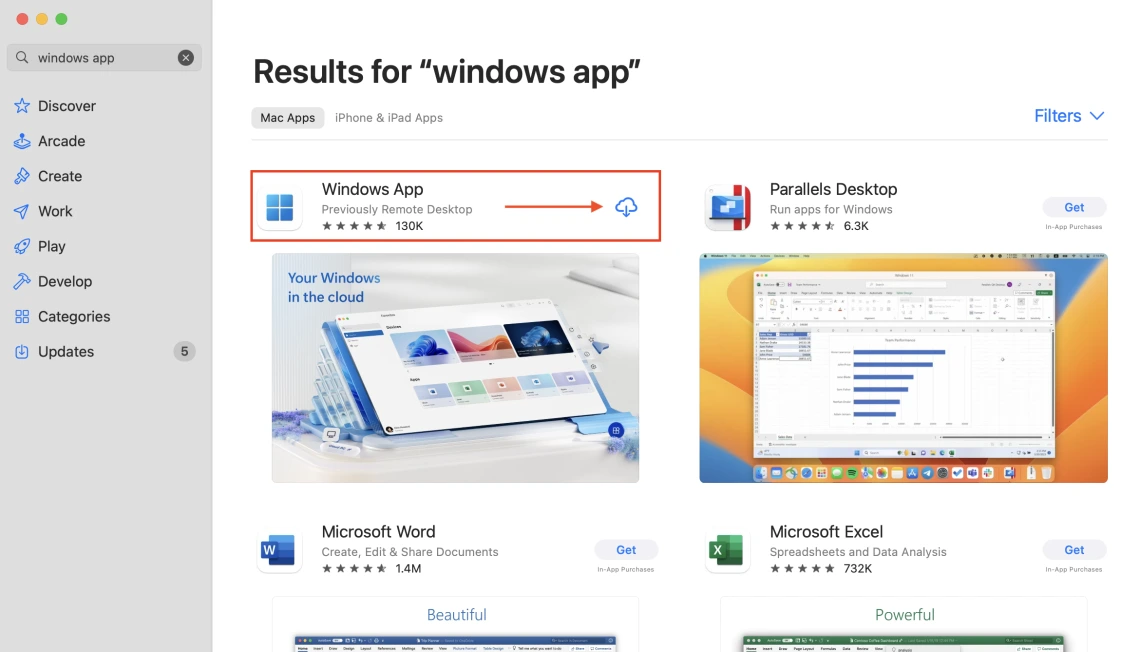
Search for Windows App in the App Store
Vaishnav Mulay
3. Get, install and open Microsoft's Windows App on your Mac, granting permissions as needed.
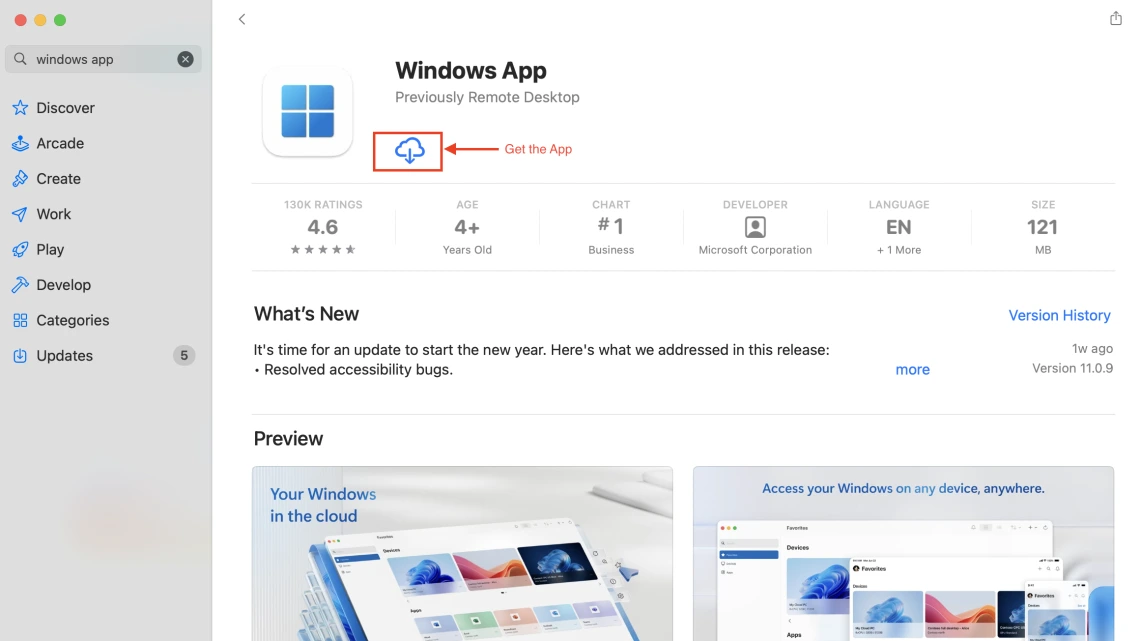
Install and open Microsoft's Windows App, approving requests and granting permissions as needed.
4. In a web browser, go to the next-gen ARTG RDS web access site: https://rd.artg.arizona.edu/
5. For the domain\user name, put BLUECAT\your NetID. Make sure to put backslash here (not a forward slash); otherwise it will not work! For password, put your NetID password. Click Sign in.

6. You will need to confirm your login with NetID+/DUO two-factor authentication.
 two factor authentication.")
7. Now you will be at the Work Resources RemoteApp and Desktops page. On this page, you will be presented a list of remote machines that you are permitted to access. To begin working with one of them; your resource might have a different name from the ones in our screenshot. Click on the resource to download the .RDP file to your machine. If you don't see any options here, there may have been a failure to associate your username with a current-term academic course resource; feel free to contact us with a description of the issue, including the courses you're enrolled in that you're expecting to see resources for.

8. After the file is successfully downloaded, click on it to launch. The file will automatically open with the Microsoft Remote Desktop app.

You can also find the file in your Downloads:
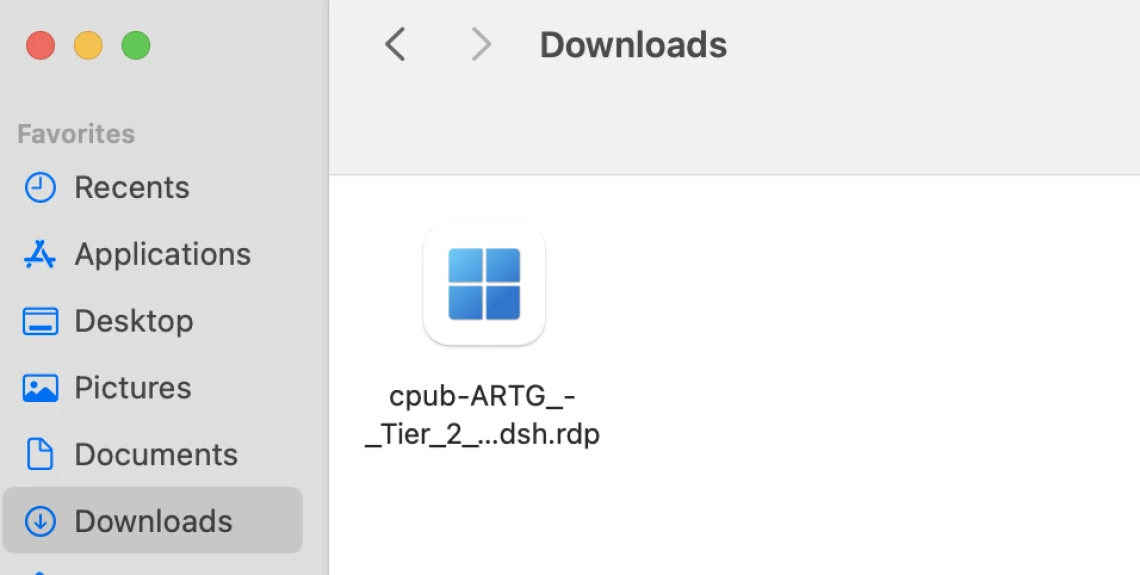
Find the downloaded .RDP file in your downloads folder.
9. Input your BLUECAT\your NetID and password again, same as step 5, then click OK. This will attempt the login process.

10. You may receive a notice asking you a path for mapping a local drive, for a convenient way to move files. We suggest you pick your home directory from your computer and using the clipboard. Most folks prefer not to map a printer.

11. You may receive a prompt inspect and accept our server's certificate. You can verify that the RDP host is MIS-RD22DCB1.BLUECAT.ARIZONA.EDU and, if mentioned, the Gateway server is rd.artg.arizona.edu. You would click Continue to proceed with your connection attempt.

12. You are now connected and your RDS resource is available to use.

More information about our RDS resources
Some other things you should know about machines in our RDS system:
- Please remember this is a beta system; if you make a support request, you will receive it as it is available.
- Be sure to move your files out of the system if they are important to you. You may be able to use e-mail, copy/paste or a cloud service to accomplish this.
- When you're done using the machine, please Sign Out of the session. You can do this by hitting CTRL+ALT+END and Sign Out. Or by clicking on Start -> the hamburger menu in the upper left -> <Your Name> -> Sign out.
- We apply idle session limits to our machines. This is similar to a screen lock; when a user does not interact with the remote resource screen for a period of time (for example, 30 minutes), the connection will be terminated but the session itself will still be running on the remote computer. A user can log back in to the system to continue their work where they left off, so long as the session hasn't been disconnected for 12 or more hours.
- We apply disconnected session limits of 12 hours, to allow for resource preservation and maintenance activity to take place. This means that if you become disconnected from your session and don't reconnect within 12 hours, you will be logged out, and any work still running won't be saved!